Monday, July 18, 2011

More LED lights

So, I know I suck at updating this blog .. But frankly I haven't been in the mood for projects for a long time.
Here is one of my latest projects though!
It's a 3x7W LED light for my piece-of-shit pitbike that I got dirtcheap..

The top 2 are aimed higher up than the single one to give a bit better throw.
It'll be mounted up on the fork with batteries placed somewhere within the frame hopefully, I'll also need to install a voltage regulator to charge them, hopefully the bike supplies voltage from somewhere as I haven't bothered to check that crucial piece yet...
Still ways to go on making this thing pretty.
 
Got 3 modes: 7, 14 and 21W.
Cycles through the mode with the push of a button.
 

And finally a pic of the pitbike itself, a 1 cylinder 125cc 4stroke.
4 gears manual and specified to have ~10hp(which is probably like 6-7..)
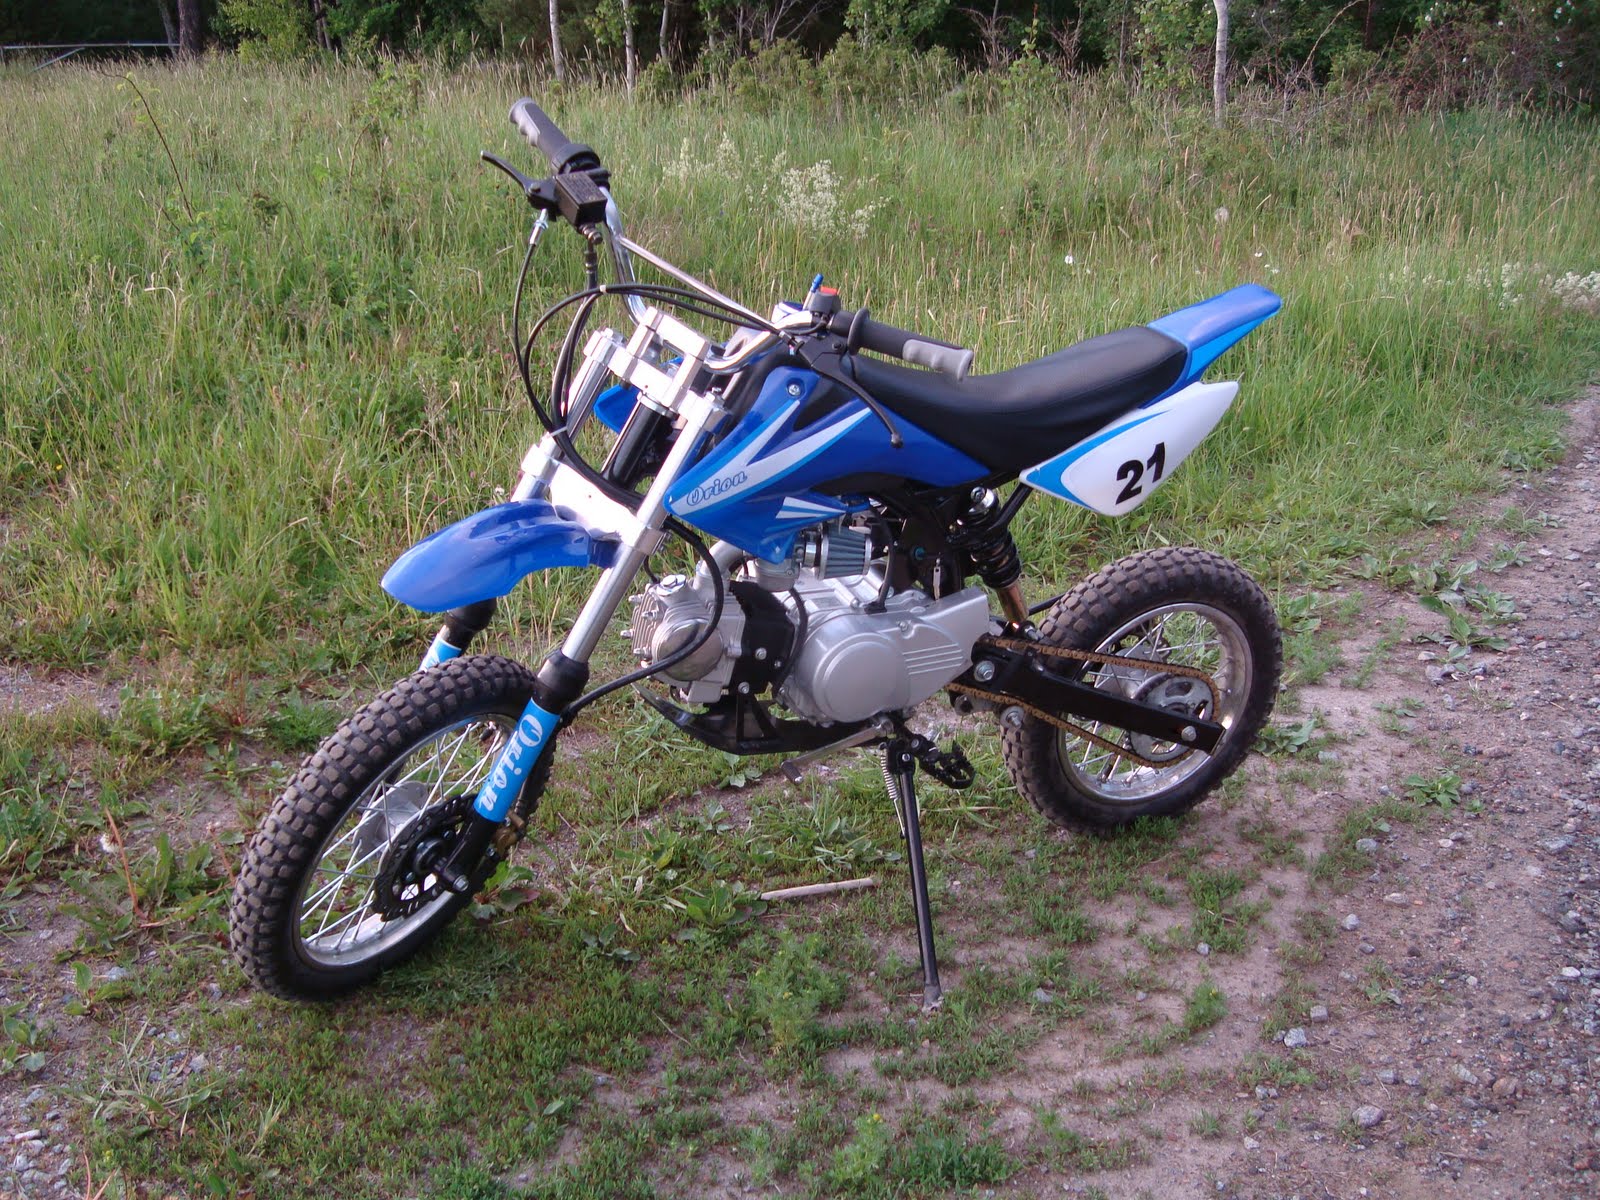
Later!

Friday, March 18, 2011

Bike season is drawing near.


And with it comes some difficulties, like navigating dark roads ... So I figured I'd solve it with LED's..
2x5W power LED's in a box with optics, batteries and a simple resistor setup to limit the current flow.
A simple on/off switch is placed up on the handlebars, I should probably change this to a high/low setting later on.


This is the lighting at around 7.25W, still some way to go to maximum and I have plenty of flow, I do plan on changing one of the lenses to something with a better throw, that way I can get both angle and length on the beam.


Peace out.

Thursday, March 3, 2011

CNC V1-3

Well here's an update for whoever reads this, haven't done any changes to the cad but did some more fabricating ...
 I just hope I'm reaching a good enough accuracy to make this work in the end.
 
The table is almost complete, missing the 4 bottom bearings and holders for those.

Test mounted, i.e just placed ontop.

Saturday, February 26, 2011

CNC V1-2

And the saga continues...

Some slight modifications and updates to the sketch;

Y-axis box redone to use less material now that I have smaller tubing available
Tube-adjusters redone as well to fit the smaller tubing and make better use of what materials I have.
Probably did some more stuff...


And this is how far I've gotten in reality, need to buy nuts&bolts for the adjusters and start putting everything together.

'till next time...

Sunday, February 20, 2011

CNC V1-1

Time for a new project since I still haven't finished any of my old ones... Either way, it's  small CNC Mill made mostly out of MDF board, illustration isn't done and quite rough.

Work area of around 180x140x70 millimeters if I remember it right.


Thursday, January 27, 2011

LED handlamp

Not exactly a recent project but decided to post it anyway.
It's essentially an array of 45 high-output LEDs, current limited with resistors and on/off by a simple switch.
As simple as it can get.


 On addition to this veroboard schematic is the battery composed of 8 AA/R6 batteries and the little switch.

Oh and .. It's effing bright.

Wednesday, January 26, 2011

Air-ram, PC cooling.

So this is another need-to-do-something-but-what project.
My GPU(GTX260) got problems with heating, even on 100% fan speed it'll still go way above 80c.
It's just not pleasant when gaming...
So what if I use the cold Swedish weather to cool down the ambient air in the case hence increase cooling power of my GPU fan?

A lot of cardboard, glue and ducttape later...

There's a 120mm/12V fan in the duct sucking air in from outdoors.
The duct gets divided in 2(up/down section) after the first fan and then hits the case fans which increases pressure further.
Originally I ran the ductfan from an AC-DC converter with an output of 13VDC, using around 400mA.
End results for this version was pretty decent, knocked my temperatures down by a lot but also made a lot of noise by operating at ~108% of rated voltage all the time..


I have since the first version improved it a little bit by adding some control to the fan, with the push of a button it'll run at higher RPM's for a set amount of time.

The fan now works between around 9V and 16V, which means in default mode it'll run at 75% of it's capacity and in boost mode it'll run for around 2 minutes at 133% of capacity.
Boost mode is probably bad for it's lifelength but seeing as this is a quick mock-up I don't care too much about it.

Sunday, October 10, 2010

Coilgun - v2b V: Coilgun vs 1.2mm Steel

Just some test shooting at a 1.2mm steel/iron plate, took 5 shots to get through.

 Metal sheet got more and more bent until the projectile finally managed to penetrate fully. Tip of projectile is quite damaged and more blunt than pointy now...

Monday, October 4, 2010

Coilgun - V2b IV

Since my last post here I've gotten the V2b to work, break and work again!

Results are very promising, easily shoots through 2x3mm plywood and I doubt the second stage is tuned anywhere near good.

So here's the setup.
From left to right: Cap charger(230VAC -> 325VDC), Capbank 1&2, Coilgun.
Also featured in the photo is a complete mess of wires.


Target holder:


Little video of the shots I've taken so far.

Tuesday, September 21, 2010

Coilgun - V2b III

Finally did something with this project
Capacitors should now be super-easy to hook up properly.
Charge and discharge wires properly set up and all.

Seperate positive poles and common ground.


I still need to:
-Hook up a battery for the trigger and lm311 circuit
-Get a better camera(Ugh, yes, I really do need one)
-Stuff.(I bet there's something really useful and critical behind this very useless line.)